
Read more
產品指南
本實用指南中,學習如何將力敏電阻與 Arduino 整合。探索簡單的電路設計、編碼要點、校準技巧和即時回饋應用。

將力敏電阻與 Arduino 連接:實施與最佳化
雖然已有許多關於力敏電阻(FSR)的詳細指南,但本文重點介紹將 FSR 與 Arduino 整合的實際操作部分。我們的目標是幫助製造商和工程師使用 Arduino 設定、校準和優化 FSR 電路。
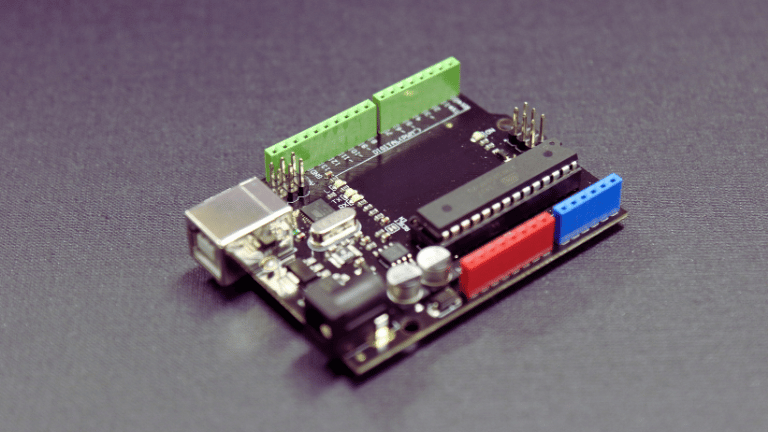
Arduino 項目的快速硬體設置
在將 FSR 整合進 Arduino 項目時,設計一個良好的電壓分壓器是獲得可靠感測數據的關鍵。以下是簡化的硬體清單:
- 基本元件:
- 一個 FSR 感測器
- 一個固定電阻(常用約 10 kΩ,但可根據感測器特性測試不同範圍的電阻)
- Arduino開發板(例如 Uno、Nano)
- 麵包板和杜邦線,用於快速原型設計
- 電路設置概述:
- 連接 FSR: 將感測器的一端連接到 Arduino 的 5V 電源。
- 電壓分壓器: 將 FSR 的另一端連接到電阻,然後將該電阻接地。
- 讀取點: 使用 FSR 和電阻之間的連接作為類比輸入(例如 A0)。
此簡單的電路設計在速度和簡便性上進行了最佳化,使您能夠快速進行程式碼開發和感測器校準階段。
Arduino程式碼:讀取和利用 FSR 資料
以下是一個實用的 Arduino 範例程式碼,旨在捕捉 FSR 數據並將其轉換為有意義的輸出。這段程式碼著重於易於校準,並可與各種輸出裝置(如 LED 或馬達)進行整合。
// FSR integration with Arduino - Read and display sensor values

const int fsrPin = A0;  // Analog pin for FSR
int fsrValue = 0;

void setup() {
  Serial.begin(9600);  // Enable serial monitoring for debugging
  // Optional: Set up an LED or motor controller if you want to link sensor data to an output
}

void loop() {
  fsrValue = analogRead(fsrPin); // Read the sensor value

  // Map the sensor value to a more useful range (adjust these values based on your calibration)
  int scaledValue = map(fsrValue, 0, 1023, 0, 255);

  Serial.print("Raw FSR Value: ");
  Serial.print(fsrValue);
  Serial.print(" | Scaled Value: ");
  Serial.println(scaledValue);

  // Optional: Use scaledValue to control an LED brightness or motor speed
  // analogWrite(LED_PIN, scaledValue);

  delay(100); // Delay for stable reading
}
程式碼中的關鍵要點:
- 映射函數: 根據你的應用需求調整輸出範圍。這種靈活性使你能夠輕鬆地將 FSR 數據整合到控制系統中。
- 序列監控: 在校準和故障排除階段,透過序列監控器即時回饋數據是非常重要的。
- 模組化: 你可以擴展這段程式碼,根據 FSR 的輸出觸發不同的反應(例如視覺或觸覺回饋)。
校準:獲得一致的結果
準確的 FSR 讀數依賴於適當的校準。考慮以下步驟來調整感測器的性能:
- 建立基準線: 在未施加任何力量的情況下記錄感測器數值。這個基準線對於調整感測器的變異性非常重要。
- 載重測試: 逐漸施加已知的重量或壓力,並記錄相應的讀數。在程式中創建一個校準曲線來標準化數值。
- 軟體過濾: 由於 FSR 輸出可能會波動,應用移動平均濾波器可以平滑數據並減少雜訊。
透過微調硬體設定和程式碼,你可以顯著提高 FSR 測量的一致性。
進階技巧與故障排除
提升電路可靠性:
- 保護覆蓋層: 使用柔軟的負載集中器來均勻分佈施加的力量,並保護感測器免受損壞。
- 優化電阻選擇: 如果你的讀數過於靈敏或過於微弱,可以嘗試不同的電阻值。理想的電阻通常是透過校準實驗來確定的。
處理非線性:
- FSR本身具有非線性的反應。如果你的應用需要更精確的控制,考慮在程式中實施非線性映射算法或使用查詢表。
常見問題故障排除:
- 測量值異常: 檢查你的接線和連接。鬆動的連接可能會導致感測器數據不穩定。
- 校準偏移: 溫度等環境因素可能會影響數據。可能需要定期重新校準,或同時使用溫度感測器來輔助。
結論
將 FSR 與 Arduino 整合不必過於複雜。只需簡單的電路、清晰的程式編碼實踐和針對性的校準技術,就能實現根據專案需求量身定制且可靠的感測器整合。無論你是設計簡單的互動安裝裝置,還是開發複雜的控制系統,這裡分享的實用技巧和進階見解旨在幫助你優化 FSR 性能,避免冗長的細節。
最近更新


Collaboration Begins Here.